
Hey everyone, today i am going to cover a most important topic. So welcome to Django REST API Tutorial. In this tutorial, you will learn how to create REST API in Django. So without wasting of time, let’s get started.
REST API is an architectural design that have many constraints for designing web applications. If you want to learn more about REST APIs then visit this link – An Introduction To REST API.
I have also posted a tutorial about creating REST API using Bottle framework, so first check it.
Python Rest API Example using Bottle Framework
Contents
- 1 Django REST API Tutorial – Getting Started
- 1.1 Prerequisites
- 1.2 Creating A New Project
- 1.3 Installing Django REST Framework
- 1.4 Starting New Application
- 1.5 Project Setting
- 1.6 Creating Database
- 1.7 Registering Models
- 1.8 Making Migrations
- 1.9 Creating Superuser
- 1.10 Running the App
- 1.11 Creating Serializer Class
- 1.12 Creating Views
- 1.13 Updating URL
- 1.14 Running The App
- 1.15 Running Url In Postman
Django REST API Tutorial – Getting Started
Prerequisites
To go ahead in this Django REST API Tutorial you must have these prerequisite –
- Basic knowledge of Python and Django
- PyCharm IDE (i preferred PyCharm but you can use anyone)
- Django framework
- POSTMAN REST client for testing.
Creating A New Project
First of all you have to create a Django project. If you don’t know how to create a django project then check it first. Python Django Tutorial for Beginners – Getting Started
Now open this project in your IDE( I prefer PyCharm). Let’s Check Best Python IDEs.
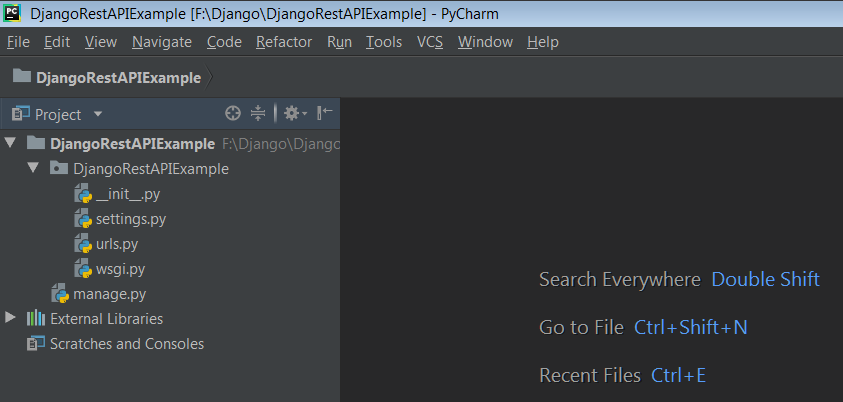
In my case my new django project is like that –
Installing Django REST Framework
Now open your terminal and run following code.
|
1 2 3 |
pip install djangorestframework |
So now our django rest framework is successfully installed.
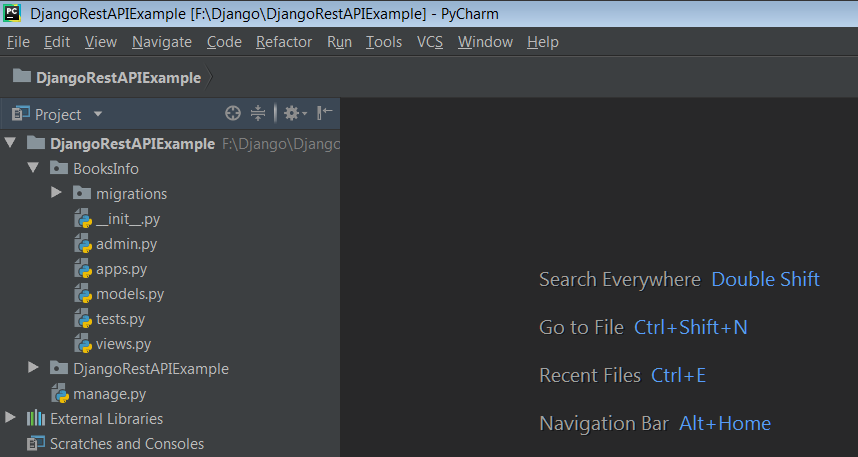
Starting New Application
Now you have to create a new app inside your project. To create a new app write the following command in terminal.
|
1 2 3 |
python manage.py startapp BooksInfo |
- After running this command you will get a new folder created inside your project named BooksInfo.
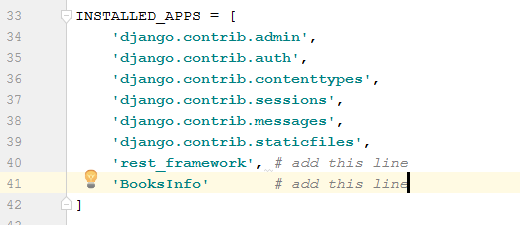
Project Setting
Now you have to configure some setting in your project. So now go to your project DjangoRestAPIExample -> settings.py (in my case).
And now go to Installed App section and write these two lines – rest_framework and your application name.
Now you have configured everything that are required. Now let’s move ahead.
Creating Database
So now, you have to create your model i.e., database.
- Here i am creating a model books that contain some data like name, price etc.
- To do so, look for the file models.py in your app folder and add the below code:-
|
1 2 3 4 5 6 7 8 9 10 11 12 13 14 15 16 |
from django.db import models # Create your models here. # Entry some data into model class books(models.Model): book_name = models.CharField(max_length=10) author_name = models.CharField(max_length=10) book_price = models.IntegerField() book_quantity = models.IntegerField() # Create a string representation def __str__(self): return self.book_name |
- def __str__(self): will return all the fields.
Registering Models
- Now we need to register the above model into the admin.py file. To do so, add the following code to the admin.py file present in your app folder.
|
1 2 3 4 5 6 7 |
from django.contrib import admin from .models import books # Register your models here. admin.site.register(books) |
- By doing this, you can add and delete books from the admin panel.
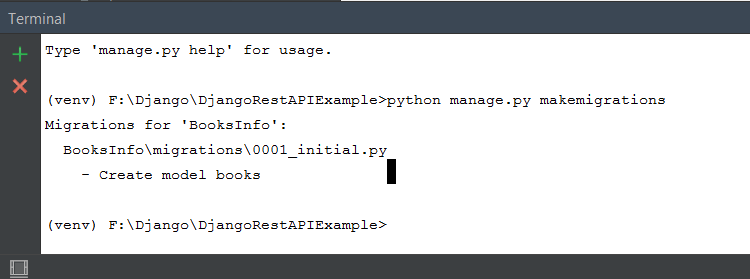
Making Migrations
- It will basically update your table structure.
- Make sure that the shell is navigated into the website folder and run the following command.
|
1 2 3 |
python manage.py makemigrations |
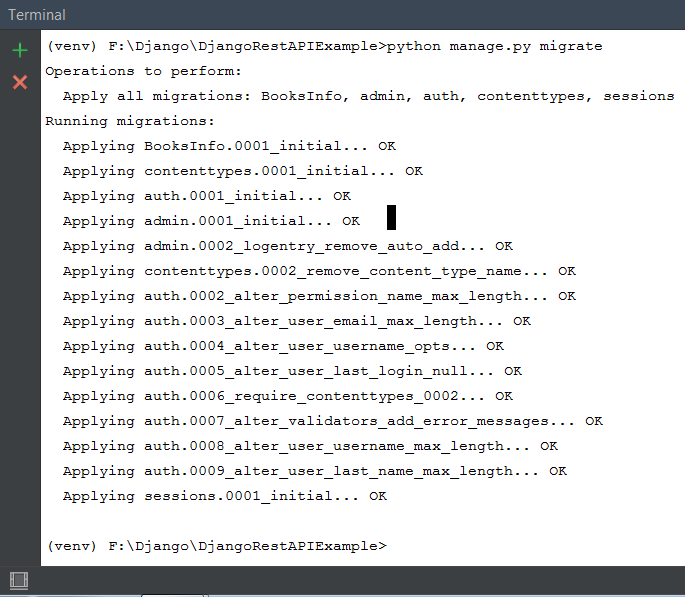
- So once your migration has done, you need to migrated.
- Run the following command.
|
1 2 3 |
python manage.py migrate |
- So basically it will create your table with current structure and it will fills all the details that you have written in your model that is books class.
Have You Checked Speech Recognition Python Tutorial
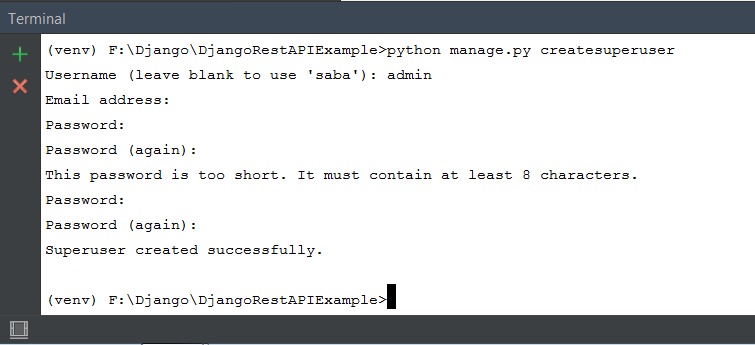
Creating Superuser
Now you have to create superuser. For this run the following command.
|
1 2 3 |
python manage.py createsuperuser |
Running the App
Now lets try running the app. For running development server, run the following command on your terminal.
|
1 2 3 |
python manage.py runserver |
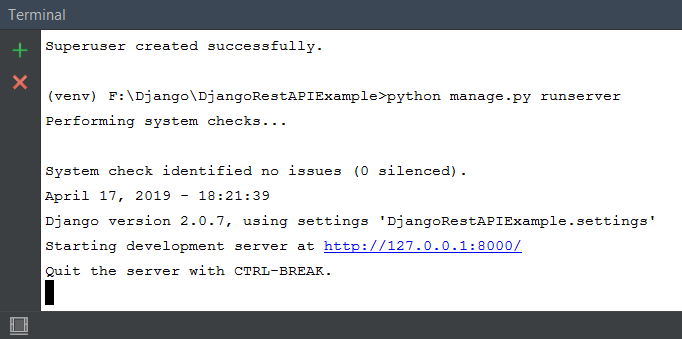
Hence our runserver is started and now go to your browser and run the above url.
- So here, you can see no webpage that can be displayed over here.
- So now for opening admin page, run the url http://127.0.0.1:8000/admin/
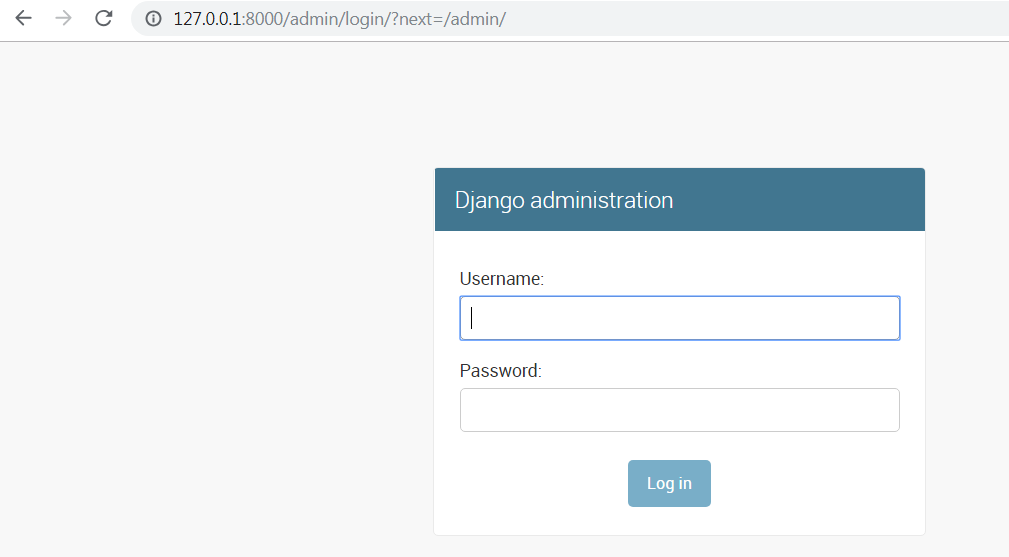
- Now enter username and password and get logged in.
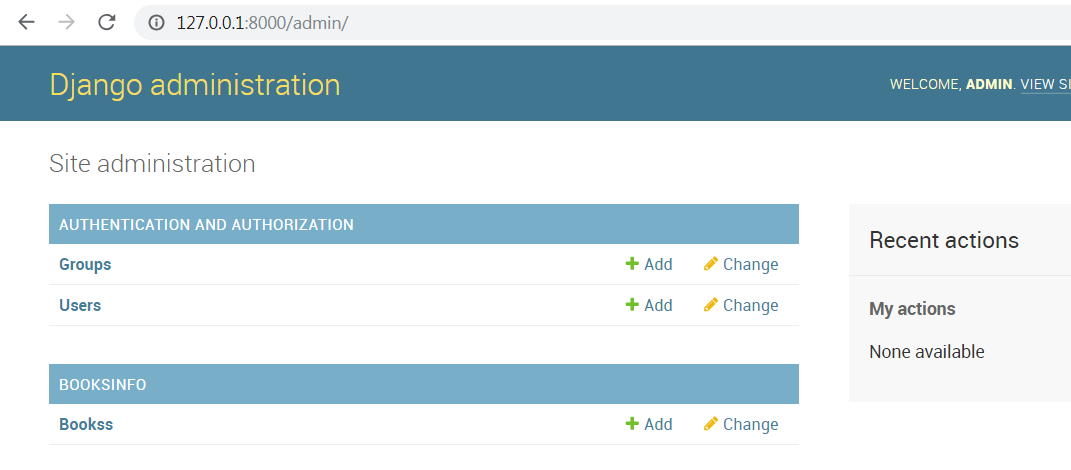
- You can see here, BooksInfo is created and inside that a model(Bookss) is created. So open this(Bookss), you will get an option ADD BOOKS.
- Now click this option and entry some details of books.
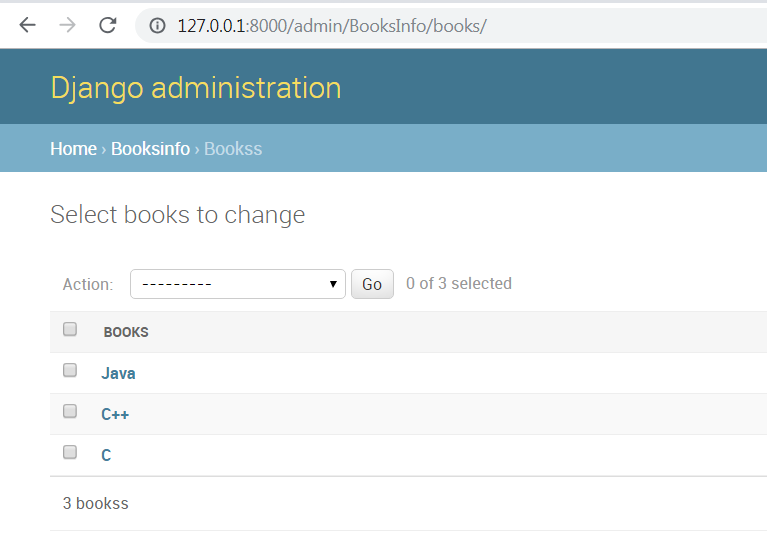
- Here you can see list of books that are just added.
Now its time to go back to code and see what else we have to do.
Creating Serializer Class
This class is used to convert your model into JSON data. JSON is used because whenever a user requests a website, they usually send the a regular old HTML format or HTML response.
Now however you don’t want HTML, its only when you want information from the browser. So here we will be sending JSON. For that you need to convert your model into JSON. Hence the Serializer is used.
- Now go to your application(BooksInfo) and create a new python file and named it as serializers.
- Now write the following code.
|
1 2 3 4 5 6 7 8 9 10 11 |
from rest_framework import serializers from .models import books #import model # Create a class class booksSerializer(serializers.ModelSerializer): class Meta: model = books fields = '__all__' |
- Inside serializers.py, you need to import some stuff from rest frameworks.
- Then you have to create a class, so whatever model you want to serialize, just type the name of class followed by Serializer keyword.
- serializers.ModelSerializer is just in-built things, you don’t need to worry about this
- Now you have to create a class Meta and configure fields.
- fields = ‘__all__’ will return all your fields that are present in your books model.
Creating Views
In this file, you have to just request an API and get the JSON back.
|
1 2 3 4 5 6 7 8 9 10 11 12 13 14 15 16 17 18 19 20 21 22 23 24 |
from django.shortcuts import render # Create your views here. from django.http import HttpResponse from django.shortcuts import get_object_or_404 from rest_framework.views import APIView from rest_framework.response import Response from rest_framework import status from .models import books from .serializers import booksSerializer class booklist(APIView): def get(self,request): book1 = books.objects.all() serializer = booksSerializer(book1, many= True) return Response(serializer.data) # Return JSON def post(self): pass |
Explanation
- HttpResponse which you have been using in any program to return the response.
- get_object_or_404 will respond when requested object doesn’t exist.
- APIView is used so that the normal views can return the API data.
- Response is that where you can get status or a particular response. If everything will be fine then it will return 202 response.
- status basically sends back the status.
- Then import model and serializer.
- Now you have to create a class based view which basically inherits from API view.
- In booklist class you have to define two methods – get( ) that are used to return all the books which you wanted and post( ) that helps into creating new books.
- In get( ) method pass the request.
- Now create a variable that will store all your objects. In my case it is book1.
- Next you have to serialize them, that means it will take all the objects and convert them into JSON.
- many = true means there are many of them so you don’t have return just one JSON object.
- As we know every view function returns a HTTP response, in our case in JSON. So we have to return JSON.
Lets learn creating python Web Server
Updating URL
- Now go to urls.py file that is in your project folder.
- Update that file with code given below.
|
1 2 3 4 5 6 7 8 9 10 11 12 |
from django.contrib import admin from django.urls import path from BooksInfo import views #import views urlpatterns = [ path('admin/', admin.site.urls), path('books/', views.booklist.as_view()), ] |
So all the coding part has been done successfully, now its time to run our app.
Running The App
- Now lets try running the app. Make sure your development server is running. If not, you can use the following command in your terminal to run your development server.
|
1 2 3 |
python manage.py runserver |
- Now go to the url http://127.0.0.1:8000/books/ to see your list of books.

You can see here, all the book’s informations are here. So this is the format of JSON, which are basically surrounded by curly braces { } having all data and a descriptive title to it.
Now using this url, you can check it anywhere and retrieve the same informations. You can get it using any device like android, iphones or anything.
Running Url In Postman
So now copy this url and paste it in postman. Now simply make a get request and send it.
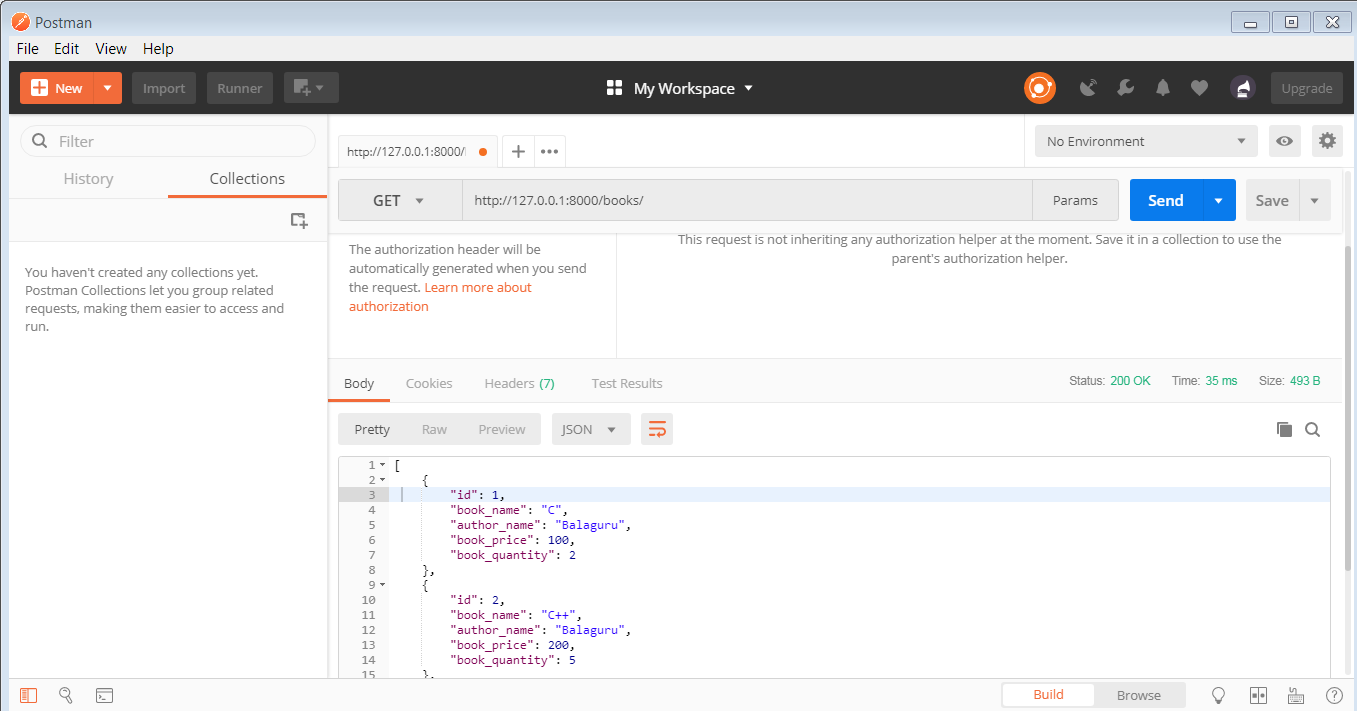
Here you can see data are in JSON format which means the API is working fine.
So finally we have created our Django REST API successfully.
This was all about the Django REST API Tutorial. I hope you found it helpful.If you have any query regarding this then feel free to comment your queries, i will try to short out them. And now if you liked it and benefited from it then must share with others.