
Hey guys, taking screenshot is necessary for most of the application so in this post you will learn how to take screenshot using python. So let’s start Python Screenshot Tutorial.
There are various ways to take screenshot using python. The first and most popular way is using PyAutoGUI module. You can also use pillow module for taking screenshots in python. And you will also learn here, how to take screenshots in tkinter application. So let’s move towards our main topic.
Contents
Python Screenshot Tutorial – Getting Started
Taking Screenshot Using PyAutoGUI
PyAutoGUI is a cross-platform GUI automation Python module for human beings. Used to programmatically control the mouse & keyboard.
Installing PyAutoGUI
To install PyAutoGUI module, you have to run following code on your command prompt.
|
1 2 3 |
pip install pyautogui |
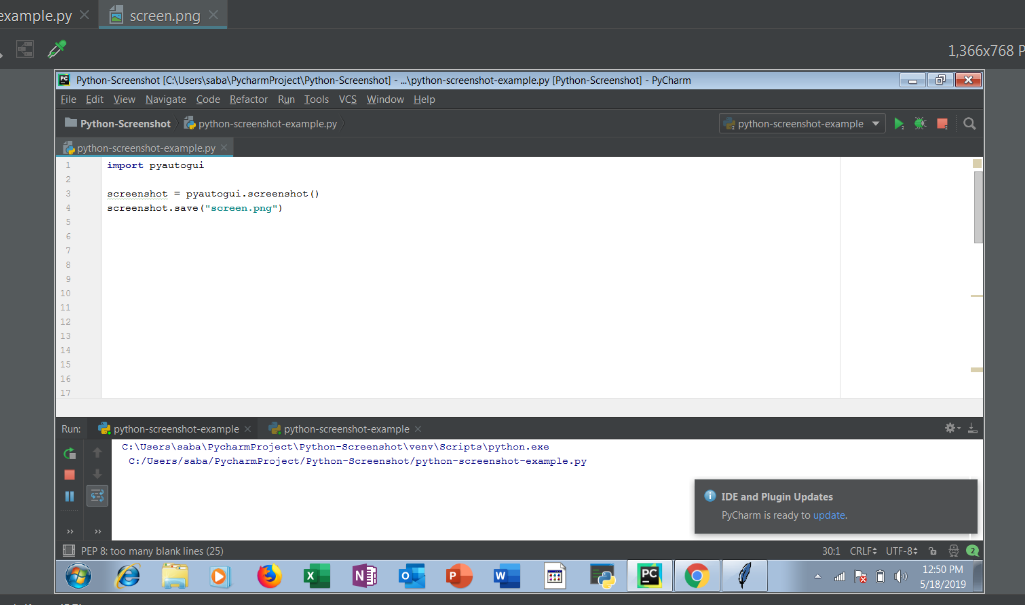
Code For Screenshot Using PyAutoGUI
- screenshot( ) method of pyautogui class is used to take screenshot of your screen.
Now write the following code on your python IDE.
|
1 2 3 4 5 |
import pyautogui screenshot = pyautogui.screenshot() screenshot.save("screen.png") |
- First of all import pyautogui module.
- Then create a variable(file) that will store the screenshot.
- screenshot( ) method will take screenshot of your screen.
- Now save this image by calling save( ) method. You have to pass name of screenshot to the save( ) function.
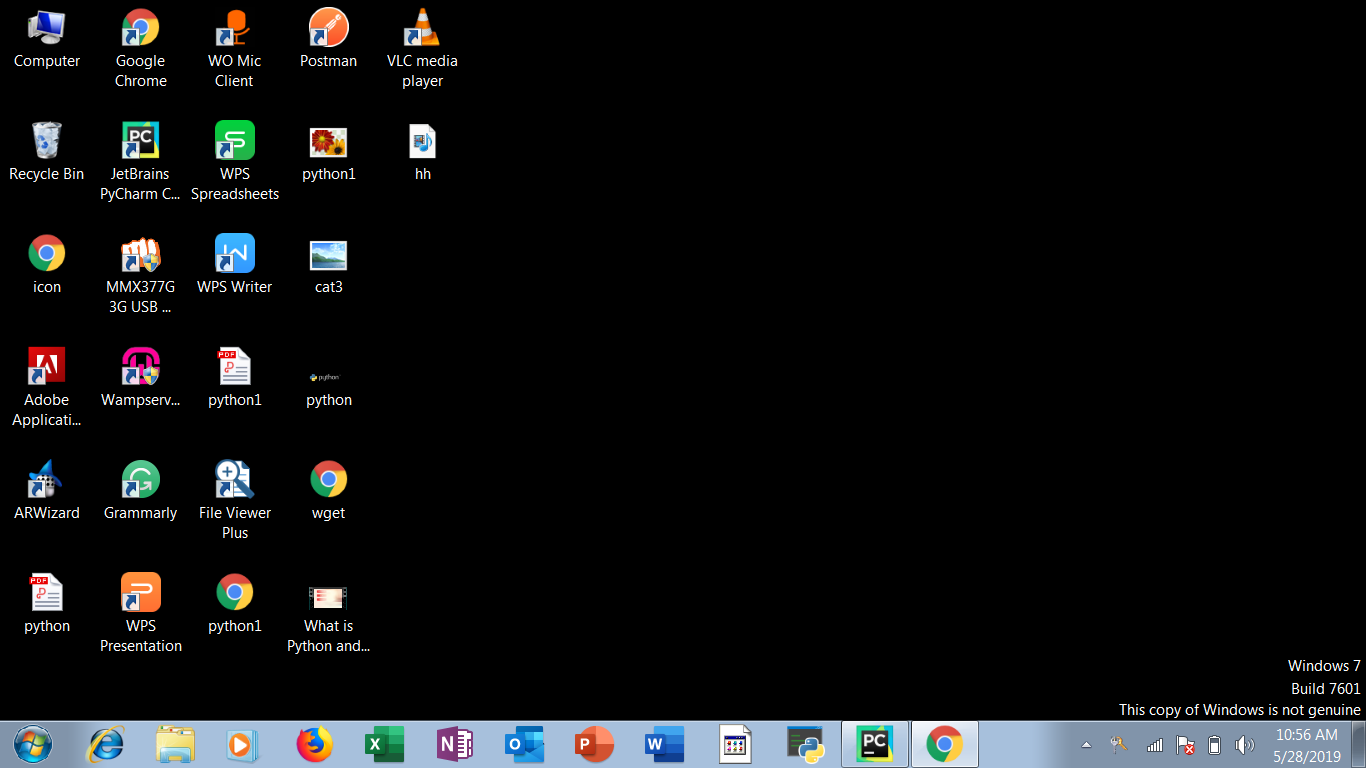
Let’s check the output –
- Now you can see, the screenshot of your screen has been captured.
Taking Screenshot With Time
In the above example, you have seen that the screenshot of current screen is captured, but if you want to take screenshot of another screen such as your desktop or anything else, so what can you do. For this you have to use time module. sleep( ) method of time module is used to add delay in the execution of a program.
So now write the following program.
|
1 2 3 4 5 6 7 |
import pyautogui, time time.sleep(6) screenshot = pyautogui.screenshot() screenshot.save("screenshot1.png") |
- Firstly import time module.
- Then call sleep( ) method and pass an argument which is your delay time. Here i am passing 6, you can pass as much you want.
- Now run the code and go to desktop or wherever you want to take screenshot. After 6 second it will take screenshot of your screen.
Now lets check the output.
Taking Screenshot Using Pillow
- Pillow is a Python Imaging Library (Fork).
- The Python Imaging Library adds image processing capabilities to your Python interpreter.
- This library provides extensive file format support, an efficient internal representation, and fairly powerful image processing capabilities.
Installing Pillow
Now run the following command on to your command prompt.
|
1 2 3 |
pip install pillow |
Code Snippet
Now you will see how to take screenshot using pillow module. So let’s start.
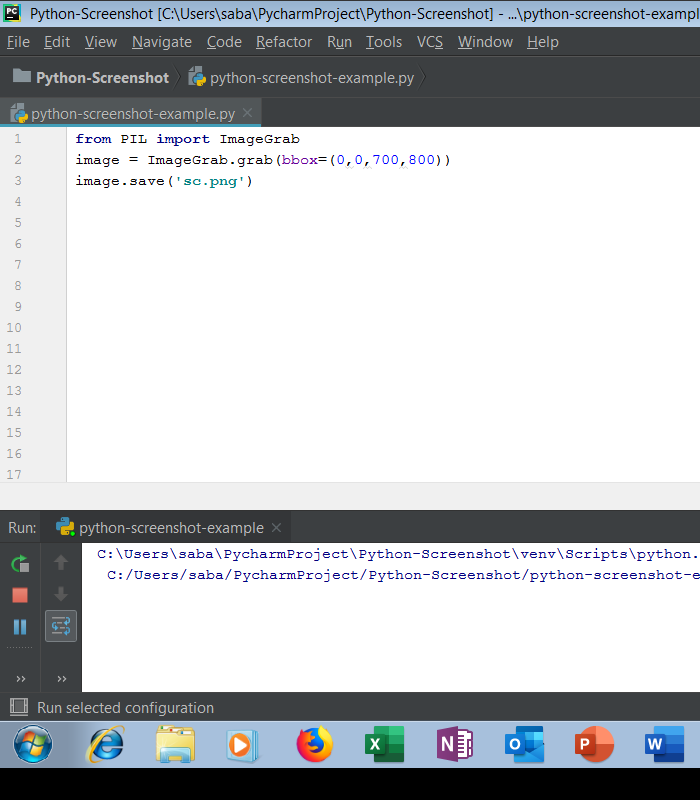
Pillow has a ImageGrab class which is used to copy the contents of the screen. grab( ) method is used to take screen shot.
Write the following code snippets.
|
1 2 3 4 5 |
from PIL import ImageGrab image = ImageGrab.grab(bbox=(0,0,700,800)) image.save('sc.png') |
- bbox is the region which is to be copied.
- bbox is consist of tuple. It has four values – the first one is value of x, second one is value of y, third one is value of width and fourth one is value of height.
- The pixels inside the bounding box are returned as an “RGB” image on Windows or “RGBA” on OS X.
- If bbox is not passed then the entire screen will be captured.
Now lets see the output.
Taking Screenshot Using Keyboard
In this section you will see how to take screen shot by pressing key from keyboard. Keyboard is a small Python library which can hook global events, register hotkeys, simulate key presses and much more.
Installing Keyboard Module
Run the following command to install keyboard module.
|
1 2 3 |
pip install keyboard |
Code Snippet
Now write the following code to achieve the above task.
|
1 2 3 4 5 6 7 8 9 10 11 12 13 14 |
from PIL import ImageGrab import keyboard while True: try: if keyboard.is_pressed('p'): image = ImageGrab.grab() image.save("screenshot.png") break else: pass except: break |
- In this example i have passed p key as an argument to is_pressed( ) method. That means whenever you will enter p key from keyboard, your current screen will be captured.
- Now run the code and go to the place wherever you want and now just press p key from keyboard. It will take the screenshot of your screen.
Now lets check the output. Here i have opened start option and press the p key from keyboard. So it has taken following output.

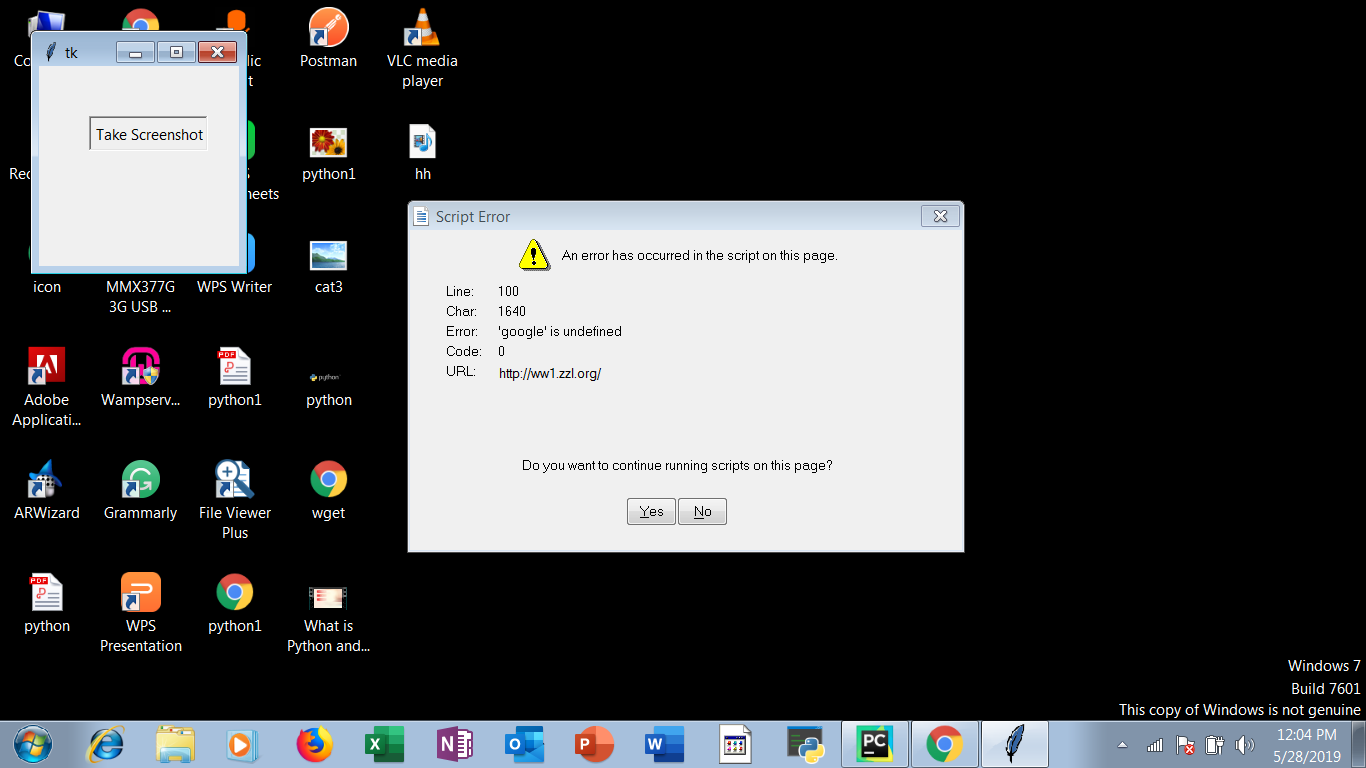
Taking Screenshot Using An Tkinter application
Now you will learn how to take screenshot from a Tkinter application.
So write the following code snippets on your editor.
|
1 2 3 4 5 6 7 8 9 10 11 12 13 14 15 16 17 18 |
import pyautogui # import PyAutoGUI library import tkinter as tk # import tkinter library # create main window window = tk.Tk() # define a method that will call whenever button will be clicked def take(): image = pyautogui.screenshot("tkscreen.png") # create a button shot_btn = tk.Button(window,text = "Take Screenshot", command= callback) # place the button on the window shot_btn.place(x=50, y=50) window.mainloop() |
Now run the above code. Now a GUI window will be appeared, now press the button present on this window. Your screen has been captured. Let’s see the output.
Conclusion
So guys, you have learned many ways to take screenshot using python. PyAutoGUI and Pillow is the two most important python library to take screenshot in python. It is very easy to implement. I hope you have learned a lot of valuable thing in Python Screenshot tutorial. If you have any query then ask here, i will try to short out your problems. And stay tuned with SIMPLIFIED PYTHON for latest and important tutorials. Thanks Everyone.
Great tutorial, thank you!
It was very simple and fun to follow along.
Thanks Azadeh